Wheel throwing is one of the most exciting and dynamic aspects of pottery. With the right approach, you can create perfectly symmetrical, functional pieces such as bowls, mugs, and vases. While it may seem daunting at first, with some guidance and practice, anyone can master the pottery wheel. In this article, we’ll explore some essential tips to help you succeed on the wheel.
Setting Up Your Workspace
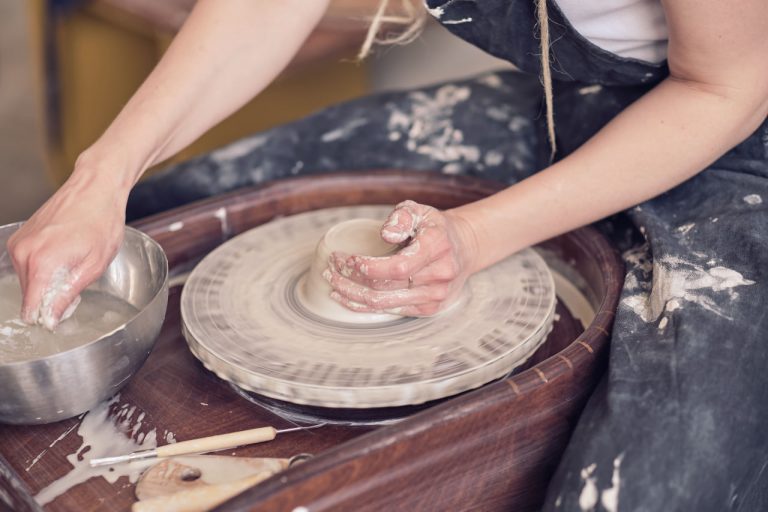
Before you start throwing, it’s crucial to set up your workspace properly. Ensure that your wheel is at a comfortable height, and you have easy access to your tools, water, and clay. Clean your wheel thoroughly to prevent any clay from sticking to the surface or affecting your project.
Keep a sponge and water container nearby, as keeping your hands and clay moist throughout the process is essential. Additionally, have a wire cutter and tool kit ready for shaping, trimming, and finishing your pieces.
Centering the Clay
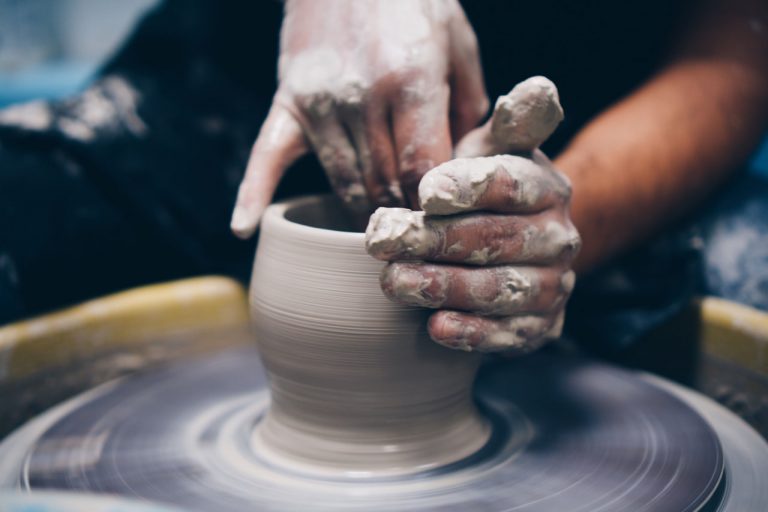
The first and most important step in wheel throwing is centering the clay on the wheel. This process involves ensuring that the clay is placed evenly on the wheel so that it spins symmetrically. To center the clay, follow these steps:
- Moisten the Clay: Place a lump of clay on the wheel and add some water to help the process.
- Start Slowly: Begin by turning the wheel at a slow speed. Use your hands to press the clay down gently while keeping it centered in the middle.
- Apply Even Pressure: Use your palms and fingers to apply even pressure, pressing the clay down and inward until it begins to spin evenly. This step requires patience, as it can take time to perfect.
Mastering centering is essential for achieving clean and even shapes, so don’t rush through this process. With practice, you’ll get more comfortable with how the clay moves and starts to take shape.
Shaping Your Piece
Once the clay is centered, it’s time to shape your piece. There are several techniques for creating various pottery forms, including:
- Opening the Clay: Using your thumbs, create a hole in the center of the clay to start shaping your bowl, cup, or vase.
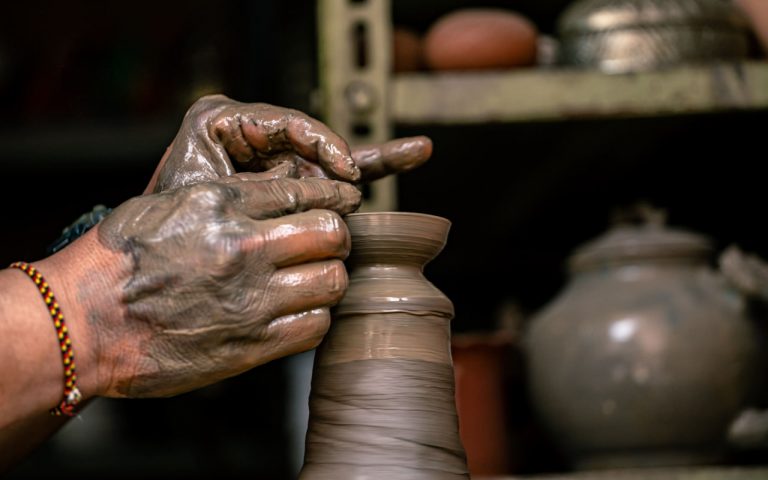
- Pulling the Walls: Gently squeeze and pull the clay upward to create the sides of your vessel. Use your fingers or a rib tool to smooth out the surface and shape the walls evenly.
- Shaping the Base: As you pull the clay upward, be sure to shape the base, making it slightly thicker than the walls for added stability. You can also use a shaping tool to refine the bottom and create a smooth curve.
As you shape, keep your hands moist and apply gentle pressure. Don’t force the clay; let it respond naturally to your touch.
Trimming and Refining the Shape
Once you’ve formed your piece, it’s important to trim and refine it to perfect the shape and smooth out any imperfections. After the clay has dried a bit but is still soft enough to work with (called leather-hard stage), you can trim the bottom of the piece to remove excess clay, leaving a smooth, clean finish.
Use a ribbon tool or a scraper to smooth out any uneven areas. You can also refine the shape of the piece at this stage, correcting the symmetry and creating a more professional look.
Drying and Firing
After completing the wheel-throwing process, your piece needs to dry completely before being fired in the kiln. Let it dry slowly and evenly to avoid cracking. Once it’s dry, it’s ready for bisque firing, where it will be heated to a high temperature to harden the clay. After bisque firing, you can glaze your piece and fire it again in the kiln for the final finish.
Conclusion
Mastering the art of wheel throwing takes practice and patience, but with each attempt, you’ll improve your skills and gain more control over the wheel. Remember that mistakes are part of the learning process—don’t be discouraged by imperfections! The more you practice centering, shaping, and refining your pieces, the more comfortable and confident you’ll become in your abilities.
Keep practicing, and soon you’ll be able to create beautiful, functional pottery that reflects your unique artistic style. Stay tuned for more pottery tips and techniques to help you further develop your skills on the wheel.