Glazing is one of the most exciting—and sometimes challenging—parts of the pottery process. It’s the stage where your creation truly comes to life, adding color, texture, and depth to your piece. In this article, we’ll explore the different glazing techniques that can help you achieve beautiful, professional finishes for your pottery.
Understanding Glaze Basics
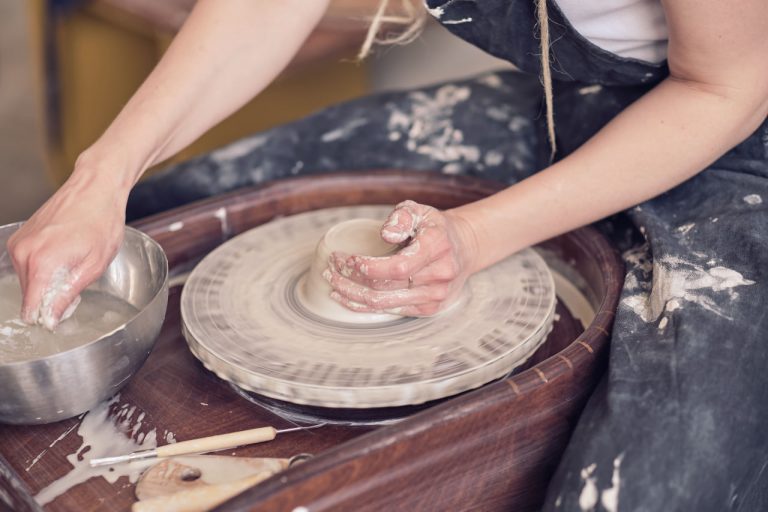
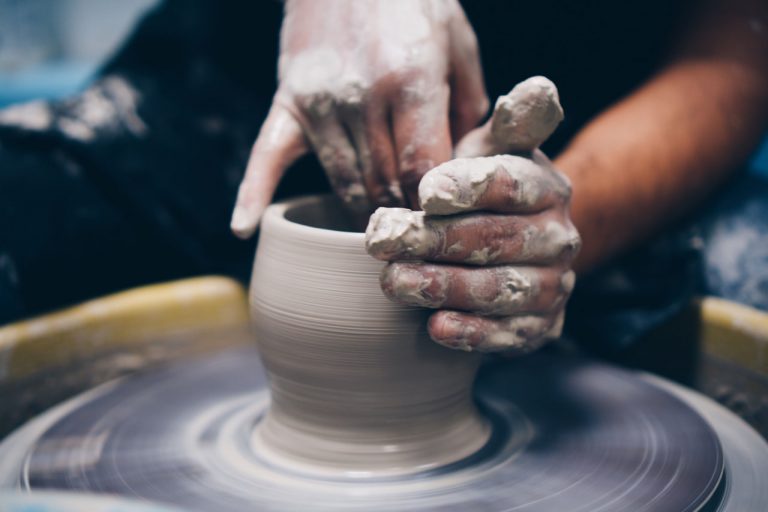
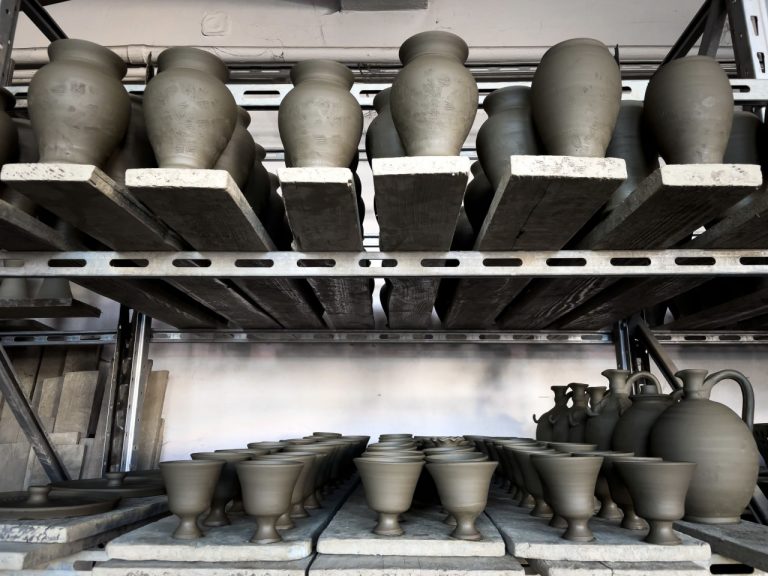
Before you dive into glazing, it’s important to understand what glaze is. A glaze is a liquid mixture that forms a glass-like surface when fired in a kiln. It’s made from a combination of minerals and chemicals that melt during firing, creating a shiny, smooth finish on your pottery. Glazes come in various types, including matte, glossy, and satin, each providing a different visual effect.
There are also several glaze options based on the effect you want to achieve, such as transparent glazes that allow the natural texture of the clay to show through or opaque glazes that cover the clay surface entirely.
Dip Glazing
One of the most common and easy methods for applying glaze is dipping. With this technique, you simply dip your piece into a container filled with glaze, ensuring that the entire surface is coated evenly. Dip glazing is particularly effective for creating a smooth, uniform finish.
Tips for Dip Glazing:
- Always make sure your glaze is mixed thoroughly to avoid clumps.
- When dipping, be sure to move the piece slowly and evenly to prevent drips or streaks.
- Allow the glaze to dry before applying a second layer if desired.
Dip glazing is especially useful when you want a consistent color or shine across your pottery, and it works well for larger pieces.
Brush Glazing
If you want more control over where the glaze is applied, brush glazing is a great option. This technique involves using a brush to apply the glaze directly to the surface of your piece, giving you more flexibility to create patterns, textures, or layered effects.
Tips for Brush Glazing:
- Use different sizes of brushes for various effects—small brushes for fine details and larger brushes for broader strokes.
- Work quickly, as some glazes can dry fast.
- Apply multiple layers for a deeper, more complex effect.
Brush glazing is ideal for adding personal touches, like decorative patterns or highlights, and can be combined with other techniques for a more unique finish.
Pouring Glaze
Pouring is another technique that allows you to create a more artistic and free-flowing glaze effect. You pour the glaze directly over the piece, allowing it to flow naturally and create interesting patterns and textures. This method is often used when creating a more organic look, like drips or streaks.
Tips for Pouring Glaze:
- Pour the glaze in a controlled, even stream to prevent too much glaze from pooling in certain areas.
- Tilt the piece slowly in different directions to allow the glaze to move across the surface in a controlled manner.
- You can combine pouring with brush glazing for more intricate designs.
Pouring is ideal for creating a more spontaneous, flowing aesthetic, and can result in beautiful, unpredictable patterns.
Layering Glazes
For a more complex and visually striking effect, consider layering glazes. This technique involves applying different glazes in multiple layers, allowing each layer to interact with the others. Layering can produce beautiful, variegated colors and textures.
Tips for Layering Glazes:
- Experiment with different combinations of glazes to see how they interact. Some glazes work well together, while others may produce unexpected or even undesirable results.
- Allow each layer to dry before applying the next to prevent the glazes from mixing unintentionally.
- Use glaze test tiles to experiment with layering before applying it to your final piece.
Layering glazes can add depth and richness to your pottery, but it requires some experimentation to get the right combination.
Sgraffito and Other Decorative Techniques
If you’re looking to add intricate designs or patterns to your glazed pottery, try sgraffito, a technique where you carve or scratch through a layer of glaze to reveal the clay underneath. This method works especially well with darker glazes on lighter clay.
You can also explore other decorative glazing techniques, such as masking (using tape or stencils to create designs), splattering (applying glaze with a brush for a speckled effect), or sponging (using a sponge to create a textured surface).
Conclusion
Mastering glazing techniques takes time, but it’s an essential part of pottery that allows you to personalize and enhance your pieces. Whether you’re using dipping, brushing, pouring, or layering techniques, the key is experimentation. Don’t be afraid to try new combinations and see how different glazes react with one another. With practice, you’ll develop your own unique glazing style and create beautiful, one-of-a-kind pottery. Happy glazing!