Once you’ve crafted your pottery and applied your glaze, the final step in the process is firing it in a kiln. Firing is where all the magic happens—it’s what transforms your clay into a durable, long-lasting piece. Understanding the firing process and how to control it can make all the difference in the quality of your work. In this article, we’ll explore the different stages of firing and how to ensure that your pottery is fired to perfection.
What Is Firing?
Firing is the process of heating pottery in a kiln to high temperatures. This transforms the raw clay into a solid, durable piece while also melting the glaze to form a smooth, glossy finish. There are two primary stages of firing: bisque firing and glaze firing. Both are essential for different reasons, and each has its own temperature range.
- Bisque firing: The first firing that turns raw clay into a hard, unglazed piece. It’s done at lower temperatures (typically around 1,800°F or 982°C) and prepares the pottery for glazing.
- Glaze firing: The second firing that melts the glaze onto the surface, creating the final glossy finish. This is done at higher temperatures (typically between 2,100°F and 2,300°F or 1,149°C to 1,260°C) and gives the piece its durability and aesthetic.
The Firing Process: Step-by-Step
Let’s walk through the typical steps of the firing process to give you a better understanding of how it works:
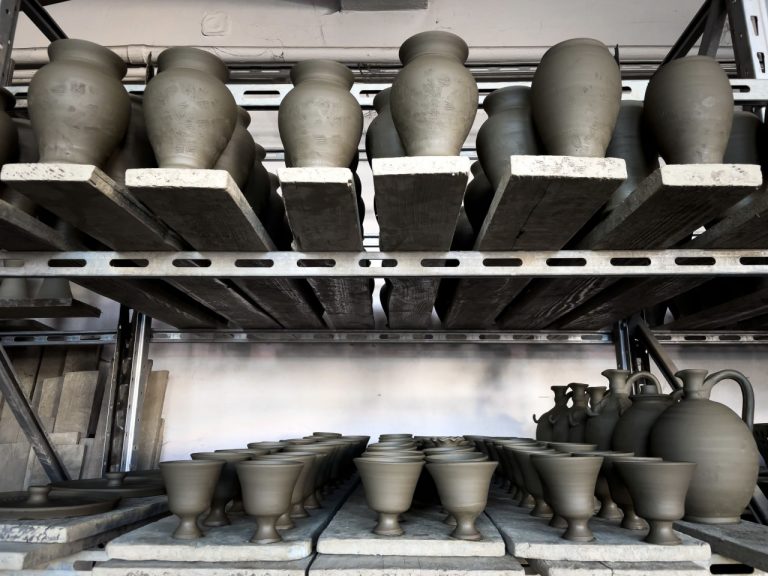
- Drying the Pottery: Before firing, your pottery must be thoroughly dried to remove any moisture. If it’s not completely dry, the piece can crack or explode during the firing process due to trapped moisture turning into steam. This stage can take anywhere from 24 to 72 hours, depending on the size and thickness of your piece.
- Bisque Firing: Once your pottery is dry, it’s time for bisque firing. This is the first firing and prepares the clay for glazing. The pottery is placed in the kiln and heated gradually to around 1,800°F (982°C). This process helps to harden the piece, making it more resistant to handling and easier to glaze.
- Applying the Glaze: After the bisque firing, your pottery is ready for glazing. You can apply your glaze using techniques like dipping, brushing, or pouring. Once the glaze has been applied, let the piece dry completely before moving on to the next step.
- Glaze Firing: The final step in the process is the glaze firing. Your glazed pottery is placed in the kiln and heated to a higher temperature (around 2,100°F to 2,300°F or 1,149°C to 1,260°C). The glaze melts during this firing, creating a smooth, glass-like finish. The pottery is then cooled slowly to avoid thermal shock, which can cause cracks.
- Cooling and Unloading: Once the glaze firing is complete, the kiln is turned off, and the pottery must cool down gradually. This can take several hours, and it’s important to allow the kiln to cool to room temperature before removing the pottery. Rapid cooling can cause cracks or other damage to the piece.
Kiln Types: Which One Should You Choose?
There are different types of kilns used in pottery, each with its own advantages. The most common types include electric kilns, gas kilns, and wood-fired kilns. The type of kiln you choose will depend on the effect you want to achieve, as well as your budget and available space.
- Electric kilns are the most popular and easiest to use for beginners. They provide consistent temperatures and are generally more affordable.
- Gas kilns offer more control over the firing process and can create unique effects, such as reduction firing, where the oxygen in the kiln is limited to produce rich, earthy glazes.
- Wood-fired kilns are typically used by advanced potters for a more traditional approach. The unpredictable nature of wood-firing can lead to stunning, one-of-a-kind pieces.
Common Firing Issues and How to Avoid Them
While firing is an essential step in the pottery-making process, it can also be tricky. Here are a few common firing issues and how to avoid them:
- Cracking: Cracks can occur during any stage of the firing process if the pottery is not properly dried, if there’s too much moisture trapped inside, or if the kiln cools too quickly. Always ensure your pottery is fully dry before firing and allow it to cool slowly in the kiln.
- Overfiring: Overfiring can cause your pottery to become too soft, or the glaze may become overly melted and run off the piece. Make sure to keep a close eye on temperature readings and stick to recommended firing schedules for your specific materials.
- Underfiring: Underfiring results in a weak and brittle piece that can easily break. It’s important to follow proper firing temperatures and firing schedules to ensure your pottery is durable and long-lasting.
- Glaze Issues: Sometimes, glazes may not behave as expected, leading to uneven coverage or poor finish. If you’re experiencing glaze issues, try experimenting with different glaze combinations or firing schedules to achieve the best results.
Conclusion
Firing is an essential step in the pottery process that brings your creations to life. Understanding the different stages of firing, the types of kilns, and how to troubleshoot common firing issues will help you create more durable and beautiful pieces. With practice and experience, you’ll become more adept at controlling the firing process to achieve the perfect finish for your pottery. Happy firing!